

Tie-Dyed Eggs
Use bleeding tissue paper to create unique Easter Eggs
By Caitlin Murray Giles
Supplies
• Hard-boiled eggs
• Empty egg cartons
• Bleeding tissue paper in a variety of colors
• Old newspaper or plastic to cover your work surface
• Scissors
• Several small bowls
• Water
• Paint brush or silicon kitchen brush
• Mod Podge (optional)
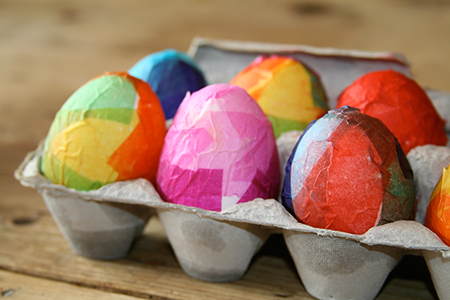
Dyeing Easter eggs is an eagerly anticipated annual tradition at our house, but I like to try new techniques from time to time to keep the project fresh and interesting. This year, we decided to experiment with a material called bleeding tissue paper to dye our eggs. Bleeding tissue paper looks like regular tissue paper, but the color transfers to other surfaces (like egg shells), leaving an interesting “tie-dyed” impression.
Begin by hard-boiling at least a dozen eggs (the more, the better). If possible, do this the night before you plan to do the project so the eggs can cool overnight. It is very important that you cover your work surface with newspaper or plastic for this project because bleeding tissue paper transfers its color when wet—which means that it will stain your work surface if you aren’t careful.
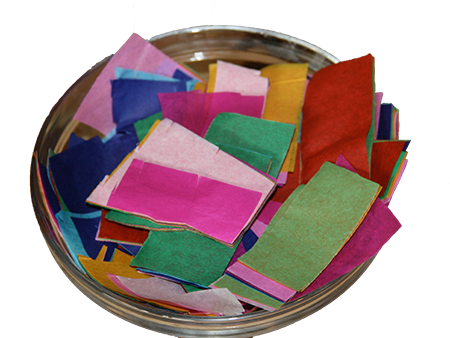
Cut up several different-colored sheets of bleeding tissue paper into 1-inch-sized pieces. Bleeding tissue paper is available in some craft stores and also online at Discount School Supply (discountschoolsupply.com). Place the paper scraps in a bowl and fill another small bowl with cold water. Keep the empty egg carton nearby to hold the tissue-papered eggs as they dry.
Dip each egg into the bowl of water so it is uniformly wet. Then apply pieces of bleeding tissue paper to the egg. Be sure the entire surface of the egg is covered with paper. We found that most combinations turned out well, whether we used all one color or mixed the pieces together to create a rainbow effect. Use a paint brush or a silicon kitchen brush to add more water to help the paper adhere smoothly. Each egg should be very wet to encourage the color to transfer.
Place the tissue-papered eggs in an empty egg carton and allow then to dry completely (at least two hours). At this point, you have two options. Either peel the bleeding tissue paper off the eggs to reveal the dyed surface beneath, or use a paint brush to apply a thin coat of Mod-Podge to dry completely to avoid tearing the paper.
Be sure you keep your beautiful egg creations refrigerated until it’s time for your Easter egg hunt (or this project can quickly turn stinky).
Caitlin Murray Giles is a full-time mother of three and part-time freelance writer.