

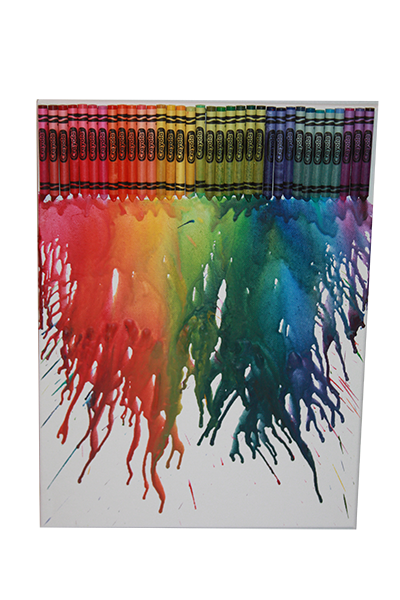
Melted Crayon Canvas
Create your own vibrant artwork from your favorite colored crayons
By Megan Murray Elsener
Back-to-school means back-to-school supply shopping. Who doesn’t remember the joy of fresh pencils, crayons and markers? Pick up an extra box of crayons and a canvas to create a colorful and unique masterpiece to get in the mindset for the new school year.
Supplies
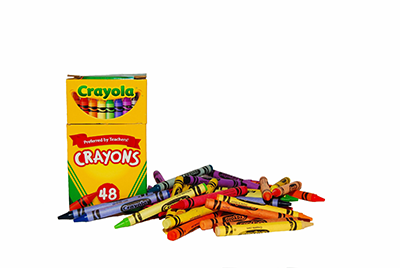
• Box of crayons (64 count)
• Canvas
• Hot glue gun and glue
• Blow dryer
• Wax paper or newspaper
Instructions
1. Select your favorite crayons and decide what color pattern you’d prefer, whether it’s a rainbow or all shades of blue and green.
2. Lay out your crayon pattern along the edge of the canvas. For a 10-inch by 10-inch canvas, a box of 64 crayons will do the trick. But determine what size canvas you prefer and make sure you have enough crayons for your color choices.
3. Using a hot glue gun, attach crayon by crayon along the top edge of the canvas. You can line up the labels evenly, take off the wrappers, or make a pattern of your liking as you glue the crayons onto the canvas.
4. Allow time for the crayons to securely dry and attach to the canvas.
5. Set up an area for the crayon melting. It works well to tilt the canvas up against a wall during the melting portion. Using either newspaper, wax paper or scratch paper, cover the areas both behind and below the canvas.
6. Using a blow dryer on the warm setting, heat the crayons and allow them to drip and run as desired. Use the blow dryer to encourage the crayons to continue bleeding down the entire canvas. It’s helpful to angle your blow dryer down to encourage the melting from splattering.
7. Let dry completely. If desired, you can remove the crayons from the top portion or it looks great to keep them as is, too. Hang your bright masterpiece and enjoy the new school year!
Megan Murray Elsener is a Chicago mother of three.